How to Care for a Peace Lily With Brown Tips: 5 Fixes That Work Fast
I’ll be honest: the first time I saw brown tips creeping in on my peace lily, I panicked. There it was—my supposedly “easy” houseplant—looking like it had been singed at the edges. I checked the soil, moved it to a brighter spot, and even whispered apologies. But here’s what I’ve learned over the years: brown tips are not a death sentence. They’re a signal. Your peace lily is telling you something about its environment, and once you understand the language, the fix is surprisingly fast.
In this guide, I’m sharing five fixes that actually work—tested on my own plants and backed by what I’ve learned from experienced growers. No fluff, no guarantees of overnight miracles, but real steps you can take today. Whether you’re dealing with a few crispy ends or a full-on brown-tip takeover, you’re in the right place.
Let’s get to it.
Fix #1: Check Your Water Quality—Tap Water Could Be the Culprit
When I first started caring for peace lilies, I just filled a jug from the kitchen tap and called it a day. Then I noticed the tips browning within a week of watering. After some digging (and a chat with a local nursery owner), I realized the culprit: tap water. Peace lilies are especially sensitive to chlorine, fluoride, and other additives commonly found in municipal water supplies. These chemicals accumulate in the leaf tips, causing that dry, brown burn.
Here’s the fix: switch to filtered water, distilled water, or even rainwater. If that sounds like a hassle, try leaving tap water out overnight in an open container—this allows some chlorine to evaporate. But honestly, I’ve had better results with a simple pitcher filter. Within two weeks of switching, my peace lily stopped developing new brown tips. The existing ones? They stayed, but at least the progression halted.
If you’re not ready to switch entirely, at least let the water sit for 24 hours before using it. It’s a small change that can make a huge difference.
Fix #2: Adjust Your Watering Routine—Don’t Overwater or Underwater
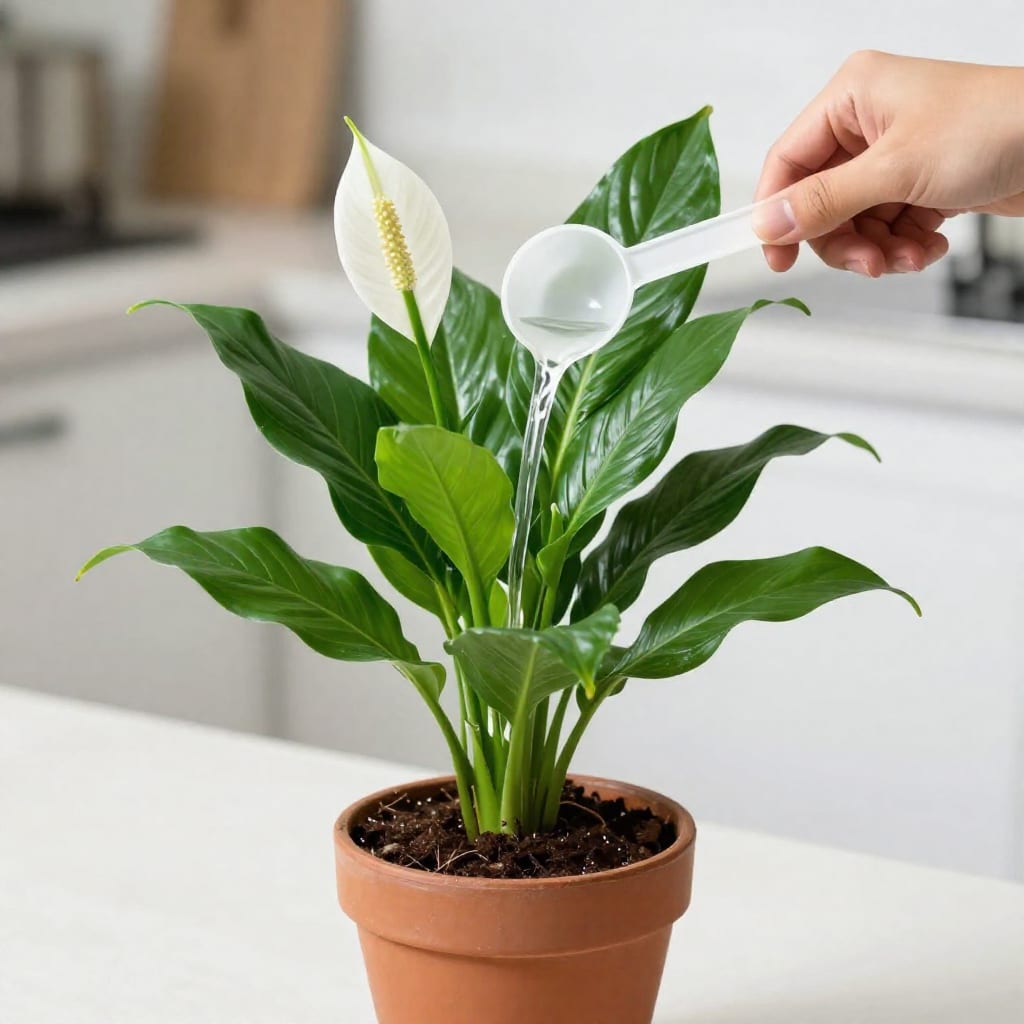
One of the trickiest parts of peace lily care is getting watering exactly right. These plants like consistent moisture—think of a wrung-out sponge, not a swamp. Overwatering leads to root rot, which often shows up as yellowing leaves and brown tips. Underwatering, on the other hand, causes the leaves to droop dramatically, then tip-burn sets in.
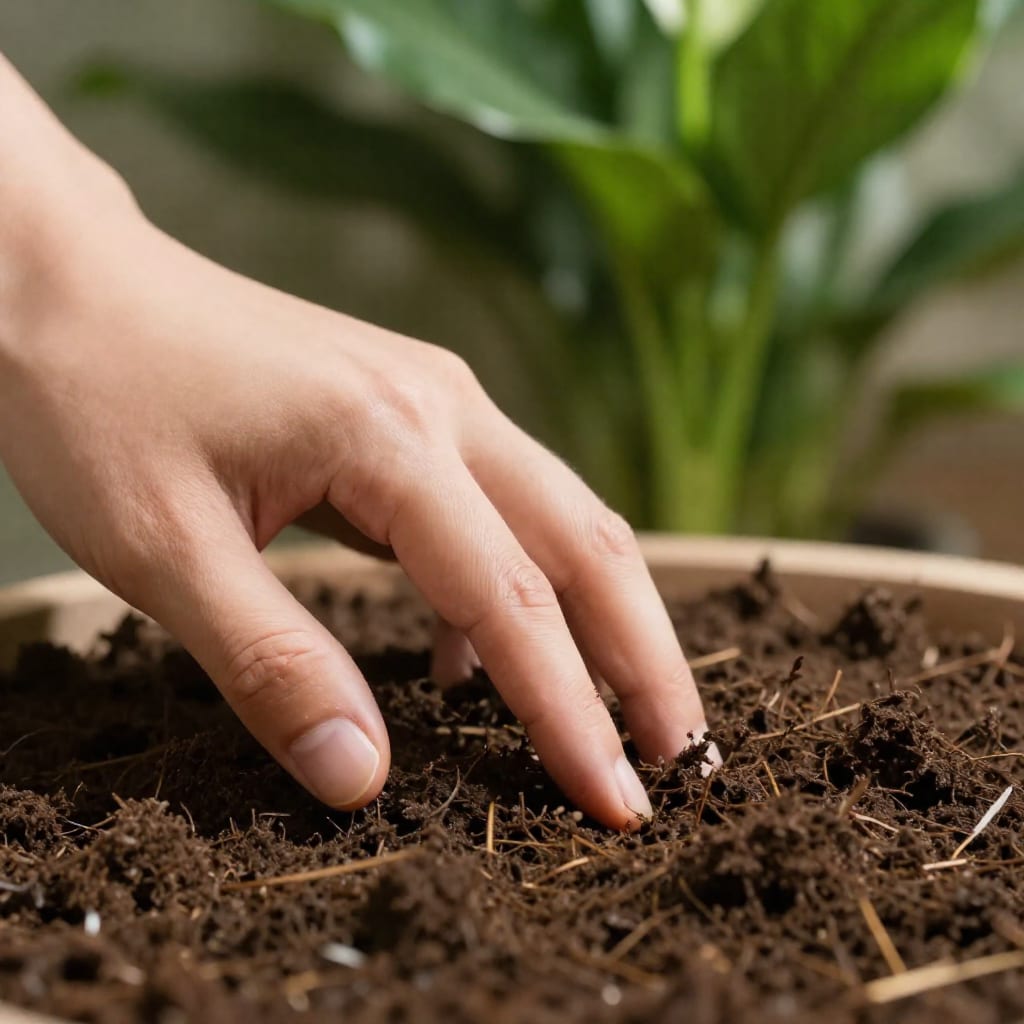
I use the “finger test”: stick your index finger into the soil up to the first knuckle. If it feels dry, it’s time to water. If it’s still damp, wait another day or two. In my experience, this works better than any gadget. For my peace lily in a 6-inch pot, that means watering about once a week in summer and every 10–14 days in winter. But your mileage will vary based on light, pot size, and how dry your home is.
A common mistake is to water on a strict schedule—every Monday, for instance. Instead, let the plant tell you. And when you do water, do it thoroughly until water runs out the drainage hole. Then dump the saucer so the pot never sits in water.
Fix #3: Boost Humidity—Dry Air Is a Common Culprit
Peace lilies are native to tropical rainforest floors, where humidity often hovers around 60% or higher. In our heated or air-conditioned homes, indoor humidity can drop to 30% or less, especially in winter. That dry air pulls moisture from the leaf tips faster than the roots can supply it, causing brown edges and tips.
I’ve tested a few humidity fixes, and here’s what works best for me: a pebble tray. Fill a shallow tray with pebbles and water, then set the pot on top (make sure the pot isn’t sitting in the water). The evaporating water creates a micro-humid zone around the plant. I also group my peace lily with other houseplants—they release moisture through transpiration, which helps each other out. If you’re really serious, a small humidifier placed nearby is the gold standard.
Misting? I’ve tried it, but it’s temporary and can even encourage fungal issues if water sits on the leaves. Save the spray bottle for special occasions. The key is sustained humidity, not a quick spritz.
Fix #4: Fertilize the Right Way—Less Is More
I’ll admit it: I once over-fertilized a peace lily because I thought it would make it “happier.” Instead, the tips turned brown almost overnight. Peace lilies are light feeders—they don’t need much fertilizer at all. Too much, or using a high-nitrogen formula, leads to salt build-up in the soil, which burns the roots and shows up as brown tips.
Here’s my rule: use a balanced, water-soluble houseplant fertilizer (like 20-20-20) diluted to half the recommended strength. Fertilize only during the growing season—spring through early fall—and skip winter entirely. I feed mine once a month, and I flush the soil with plain water every third watering to wash away any salt accumulation.
If you suspect you’ve already over-fertilized, stop feeding for a couple of months and flush the soil thoroughly—run water through the pot for several minutes and let it drain completely. That alone can stop the browning.
Fix #5: Prune Brown Tips and Address Underlying Issues
Once you’ve fixed the root cause—water quality, watering routine, humidity, or fertilizer—you can clean up the cosmetic damage. Brown tips are dead tissue and will never turn green again. But you can trim them off safely.
Here’s how I do it: use sharp, clean scissors or pruning shears. Snip off just the brown part, cutting at the same angle as the leaf’s natural shape (a gentle curve). Leave a thin margin of brown—cutting into the green part can cause more die-back. I usually do this after a watering session, when the leaves are turgid and easier to handle.
Remember: pruning is cosmetic. If you don’t address the underlying issue, new brown tips will appear. But a quick trim makes the plant look better instantly, which feels like a win. Also, remove any entirely brown or yellow leaves at the base—they’re just draining energy.
Conclusion: A Healthy Peace Lily Is Within Reach
Brown tips on a peace lily are frustrating, but they’re not the end of the world. In fact, they’re one of the most common issues—and one of the easiest to fix once you know what to look for. To recap: check your water quality, adjust your watering routine, boost humidity, fertilize sparingly, and prune away the damage. That’s it.
I’ve seen my own peace lily bounce back from brown tips to lush, glossy leaves just by switching to filtered water and adding a pebble tray. It’s not a miracle cure—it takes a couple of weeks to see new growth without browning—but it works.
Now I’d love to hear from you: which fix worked for your peace lily? Share your experience in the comments or save this guide for your next plant check-up. A healthy peace lily isn’t just possible—it’s your new reality.